Tips & Techniques
Sta-Wet® Palette
-
Using the hottest water from the tap, place a sheet of Sta-Wet Acrylic Paper in the sink or other water basin until the paper is fully submerged. Let the paper soak for approximately 15 minutes. This will remove the paper’s protective film and open the pores to a permeable state. The paper will become semitransparent. Soaking it longer will not hurt the paper. This step only needs to occur once per sheet of paper.
QUICK TIP FOR BEST RESULTS! Place a sheet of paper into a microwave safe dish of water and microwave on high until the water boils (about 3-5 minutes).
-
Before using the sponge for the first time, rinse it thoroughly under running water to remove the surface additives used during manufacturing. Gently wring dry. Fully saturate the sponge with water and wring out ½ of the water. The exact amount of water kept in your sponge depends upon the viscosity of your paint. Wring out more water for paints that are more fluid. Place the wet sponge in the palette tray. For best results, place the smooth side of the sponge face up in the tray.
-
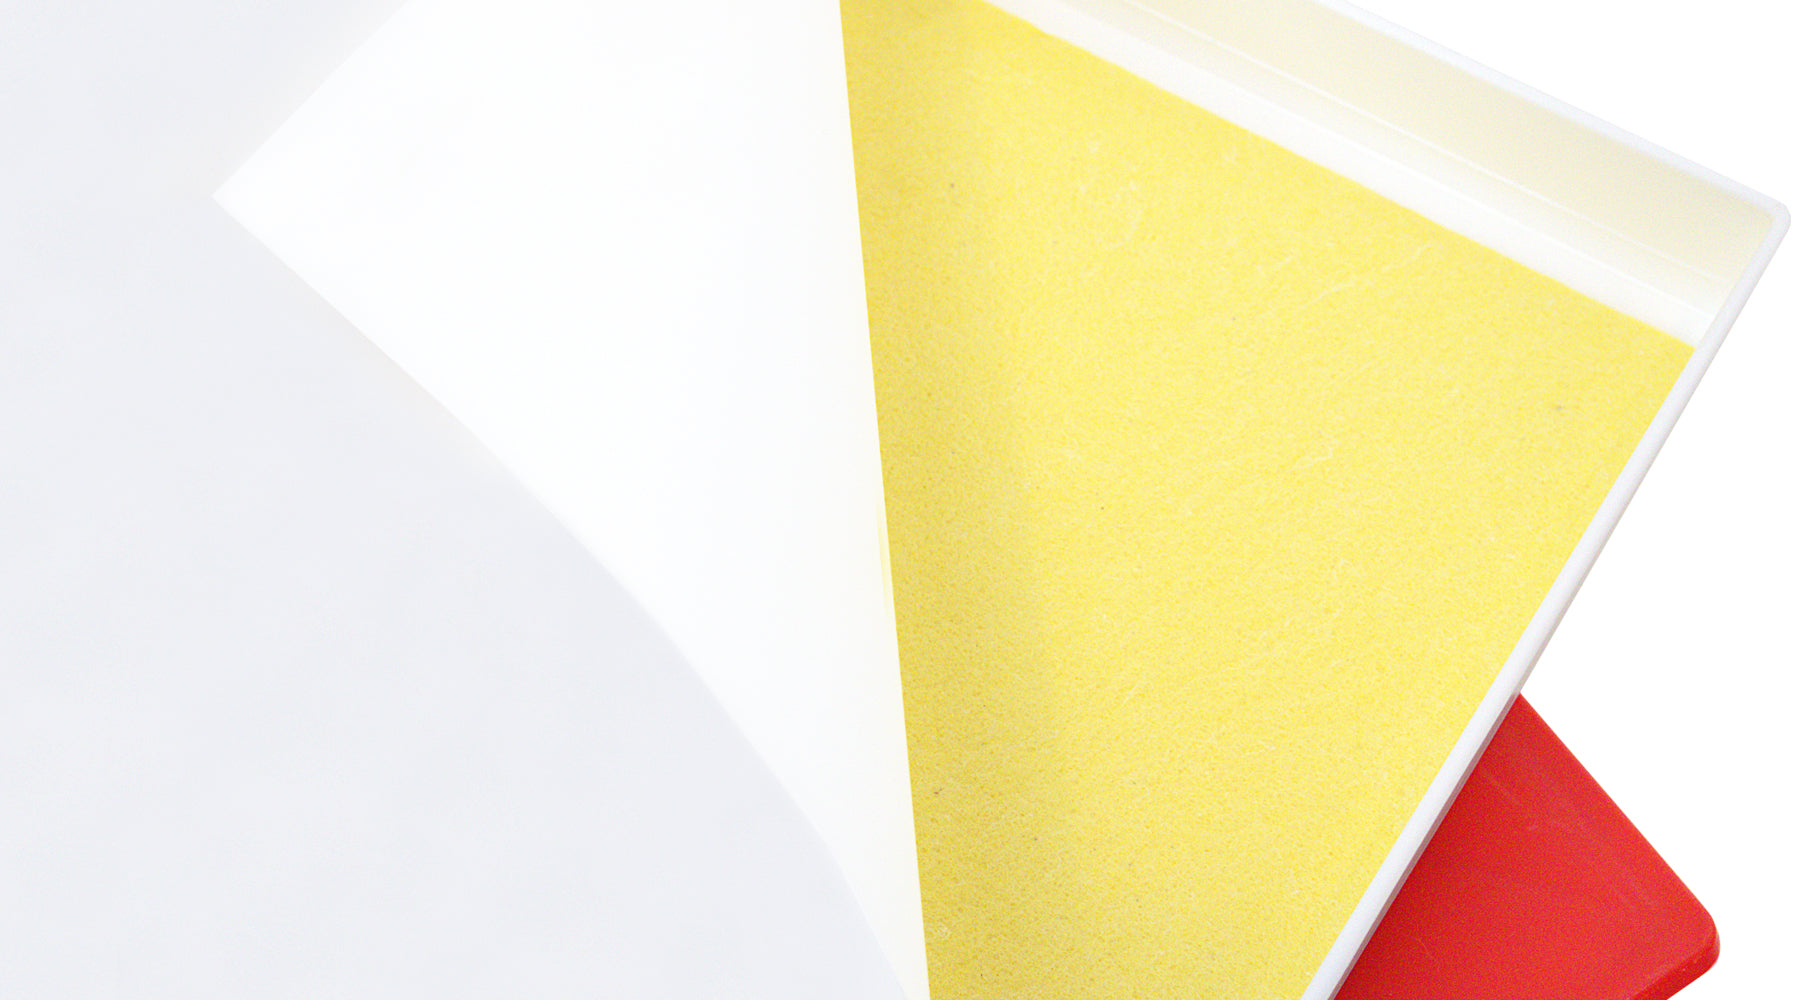
Place a sheet of the Sta-Wet Acrylic Paper (prepared in step 1) on top of the Sta-Wet Sponge. Use a paper towel or soft cloth to wipe off the excess moisture from the top of the paper.
-
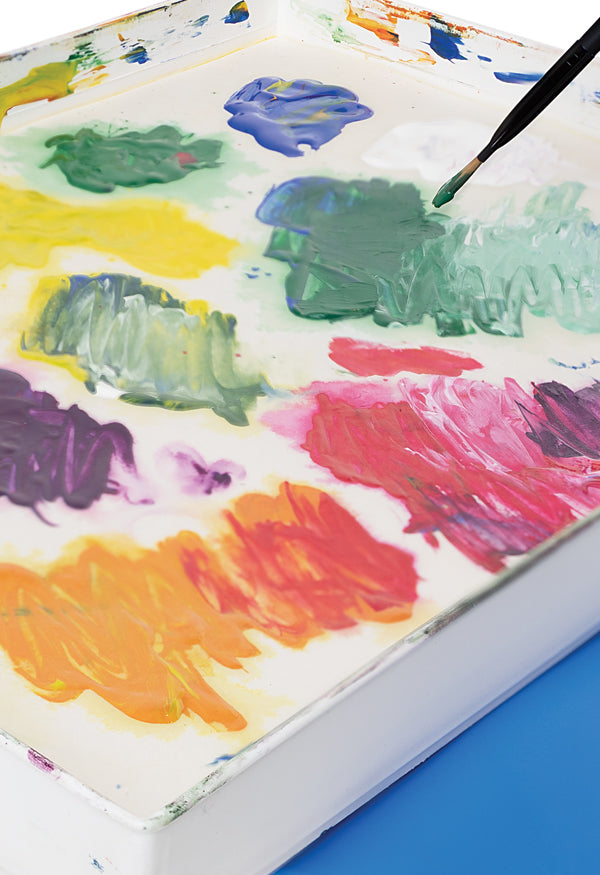
The paints will slowly absorb moisture from the sponge through the paper. The paper is strong and will not easily tear, therefore a palette knife can be used without damaging the paper.
-
When you have finished painting, place the lid on the tray. Making sure the lid is properly sealed will ensure that your paint will remain fresh for many days, if not weeks.
For the Palette Seal (Blue Lid), Sta-Wet Premier Palette (Red Lid), and the Sta-Wet Painter's Pal (Yellow Lid); Lay the tray on a flat surface and place the lid on the tray, matching up the corners. Using the palm of your hand, press down one corner of the lid then press down the corner diagonally opposite the corner you just snapped on. Press down the other two corners. If the corners do not line up: lift the lid, rotate the tray, then repeat the above steps. Once all four corners are connected to the tray, apply hand pressure around the edges of the lid until all four sides snap tightly to the tray. The lid will gain flexibility after multiple uses.
-
If you paint often and anticipate that you will be changing your Sta-Wet Acrylic Paper often, you can place several sheets of paper that have been prepared according to the directions above into a jar of COLD water and leave them indefinitely. In this way, you will always have a fresh, fully saturated piece of palette paper ready when you need it.
-
Masterson uses a proprietary paper specifically produced for the Sta-Wet Palette System. Please note, traditional palette paper will not provide the same moisture transfer from the sponge to the paint but will have the opposite effect; creating a barrier that locks out moisture.
-
ONLY for the Artist Palette Seal & Sta-Wet Premier Palette:
The lid has memory. First make note of the top left lid corner and the top left tray corner. Marking the corners, and matching the two corners when closing, will make it easier to close your palette. When opening, lift off each corner first, then gently pull back at one of the corners to peel off the lid. If you find the lid difficult to remove, use a cotton swab to apply a small amount of petroleum jelly into the groove of the lid. This will improve the airtight seal and make it easier to put the lid on and to take it off. The lid will gain flexibility for easier removal after multiple uses.
-
ONLY for the Artist Palette Seal, Sta-Wet Premier Palette & Sta-Wet Painter's Pal:
Lay the tray on a flat surface and place the lid on the tray, matching up the corners. Using the palm of your hand, press down one corner of the lid then press down the corner diagonally opposite the corner you just snapped on. Press down the other two corners. If the corners do not line up: lift the lid, rotate the tray, then repeat the above steps. Once all four corners are connected to the tray, apply hand pressure around the edges of the lid until all four sides snap tightly to the tray. The lid will gain flexibility after multiple uses.
-
The flexible nature of the lid material is necessary for proper sealing to occur. The lid may have a slight wave. This will not interfere with the function of the tray or the lid.
-
When finished painting for the day or when storing your empty palette, always place the lid back onto the tray. This will help preserve the shape of the lid. The container should be transported in a horizontal/flat position. While the lid fits snug onto the tray, the seal is not watertight. When transporting your palette, you should lift the paper off the sponge, gently wring out most of the water from the sponge and place the sponge and paper back into the tray. With the lid on, there does not need to be as much water in the sponge because water will not evaporate with the lid securely in place. To contain water spillage during transport, a Ziplock bag may be used.
-
This paper is reusable. Simply wash off the wet paint with a gentle scrubbing and let the paper dry out for later use or re-hydrate and use immediately. Both sides of the paper can be used. Paint stains will not affect the Masterson Sta-Wet Palette System.
-
Do not be concerned if the dry sponge does not fit properly into the tray. Once it is wet, the sponge will change shape to fit. The sponge can be gently cleaned by rinsing under water and patting dry after use. Darker paint colors will bleed onto the sponge. This is okay. Paint stains will not affect the Masterson Sta-Wet Palette System. DO NOT USE BLEACH TO REMOVE STAINS.
-
If painting in hot, dry, or windy conditions, water evaporation from the paper and sponge may occur. If the edges of the paper begin to dry, lift the paper, and rehydrate the sponge by adding some water to the tray and gently tip the tray back and forth to evenly distribute the water. Use your fingers to press down any dry spots on the paper onto the sponge.
-
If you experience mildew/mold, unpleasant odors, or holes forming on your sponge, the probable cause is impurities in the water. In this case, use distilled water to extend the life of the sponge. Additionally, adding 1 Tablespoon of household ammonia per 1 Liter of distilled water will adjust the PH of the water and will further reduce the above experiences. If household ammonia is not readily available, you may also use undiluted 3% hydrogen peroxide added to a spray bottle. Spray the top and bottom of the sponge every few days. Ammonia and 3% hydrogen peroxide will not harm the sponge, paper, or paint. PLEASE FOLLOW THE MANUFACTURER’S DIRECTIONS WHEN USING AMMONIA. PLEASE FOLLOW THE MANUFACTURER’S DIRECTIONS WHEN USING HYDROGEN PEROXIDE.
5 Steps to Properly Prepare the Sta-Wet® Palette
Helpful Tips